
Site Settings
Site Settings is the one place for every tenant-level configuration on your public site. Branding, organisation profile, payment processing, Zelle, matching gifts, in-person tablet kiosk, email delivery, privacy policy, and platform environment variables — all live here as tabs.
It lives under Settings → Site Settings in the sidebar.
Tabs at a glance
| Tab | What it controls |
|---|---|
| Appearance | Theme, brand colours, font, header & footer logos, favicon, trust badges (Candid, Charity Navigator, BBB, etc.). |
| Domain | Your custom domain and DNS verification. |
| Organisation | Legal name, EIN, NTEE codes, address, contact email, geographic focus, social links. |
| Payment | Donation frequency options (one-time / monthly / yearly) + processing method (Stripe Connect or legacy BYOK). |
| Zelle | Accept Zelle donations with manual confirmation flow. |
| Matching Gift | Connect your Double the Donation Matching account so donors can find their employer's matching-gift program. |
| Tablet | Preset donation amounts for the in-person tablet kiosk. |
| Delivery method (Managed by Koolay / Your own SMTP / Disabled). | |
| Physical Mail | Direct-mail provider credentials (Click2Mail) for thank-you letters and tax receipts. |
| Privacy | Edit the privacy policy published at /privacy. |
| Environments | Read-only view of platform env vars (Supabase URL, anon key, project ID). |
Appearance
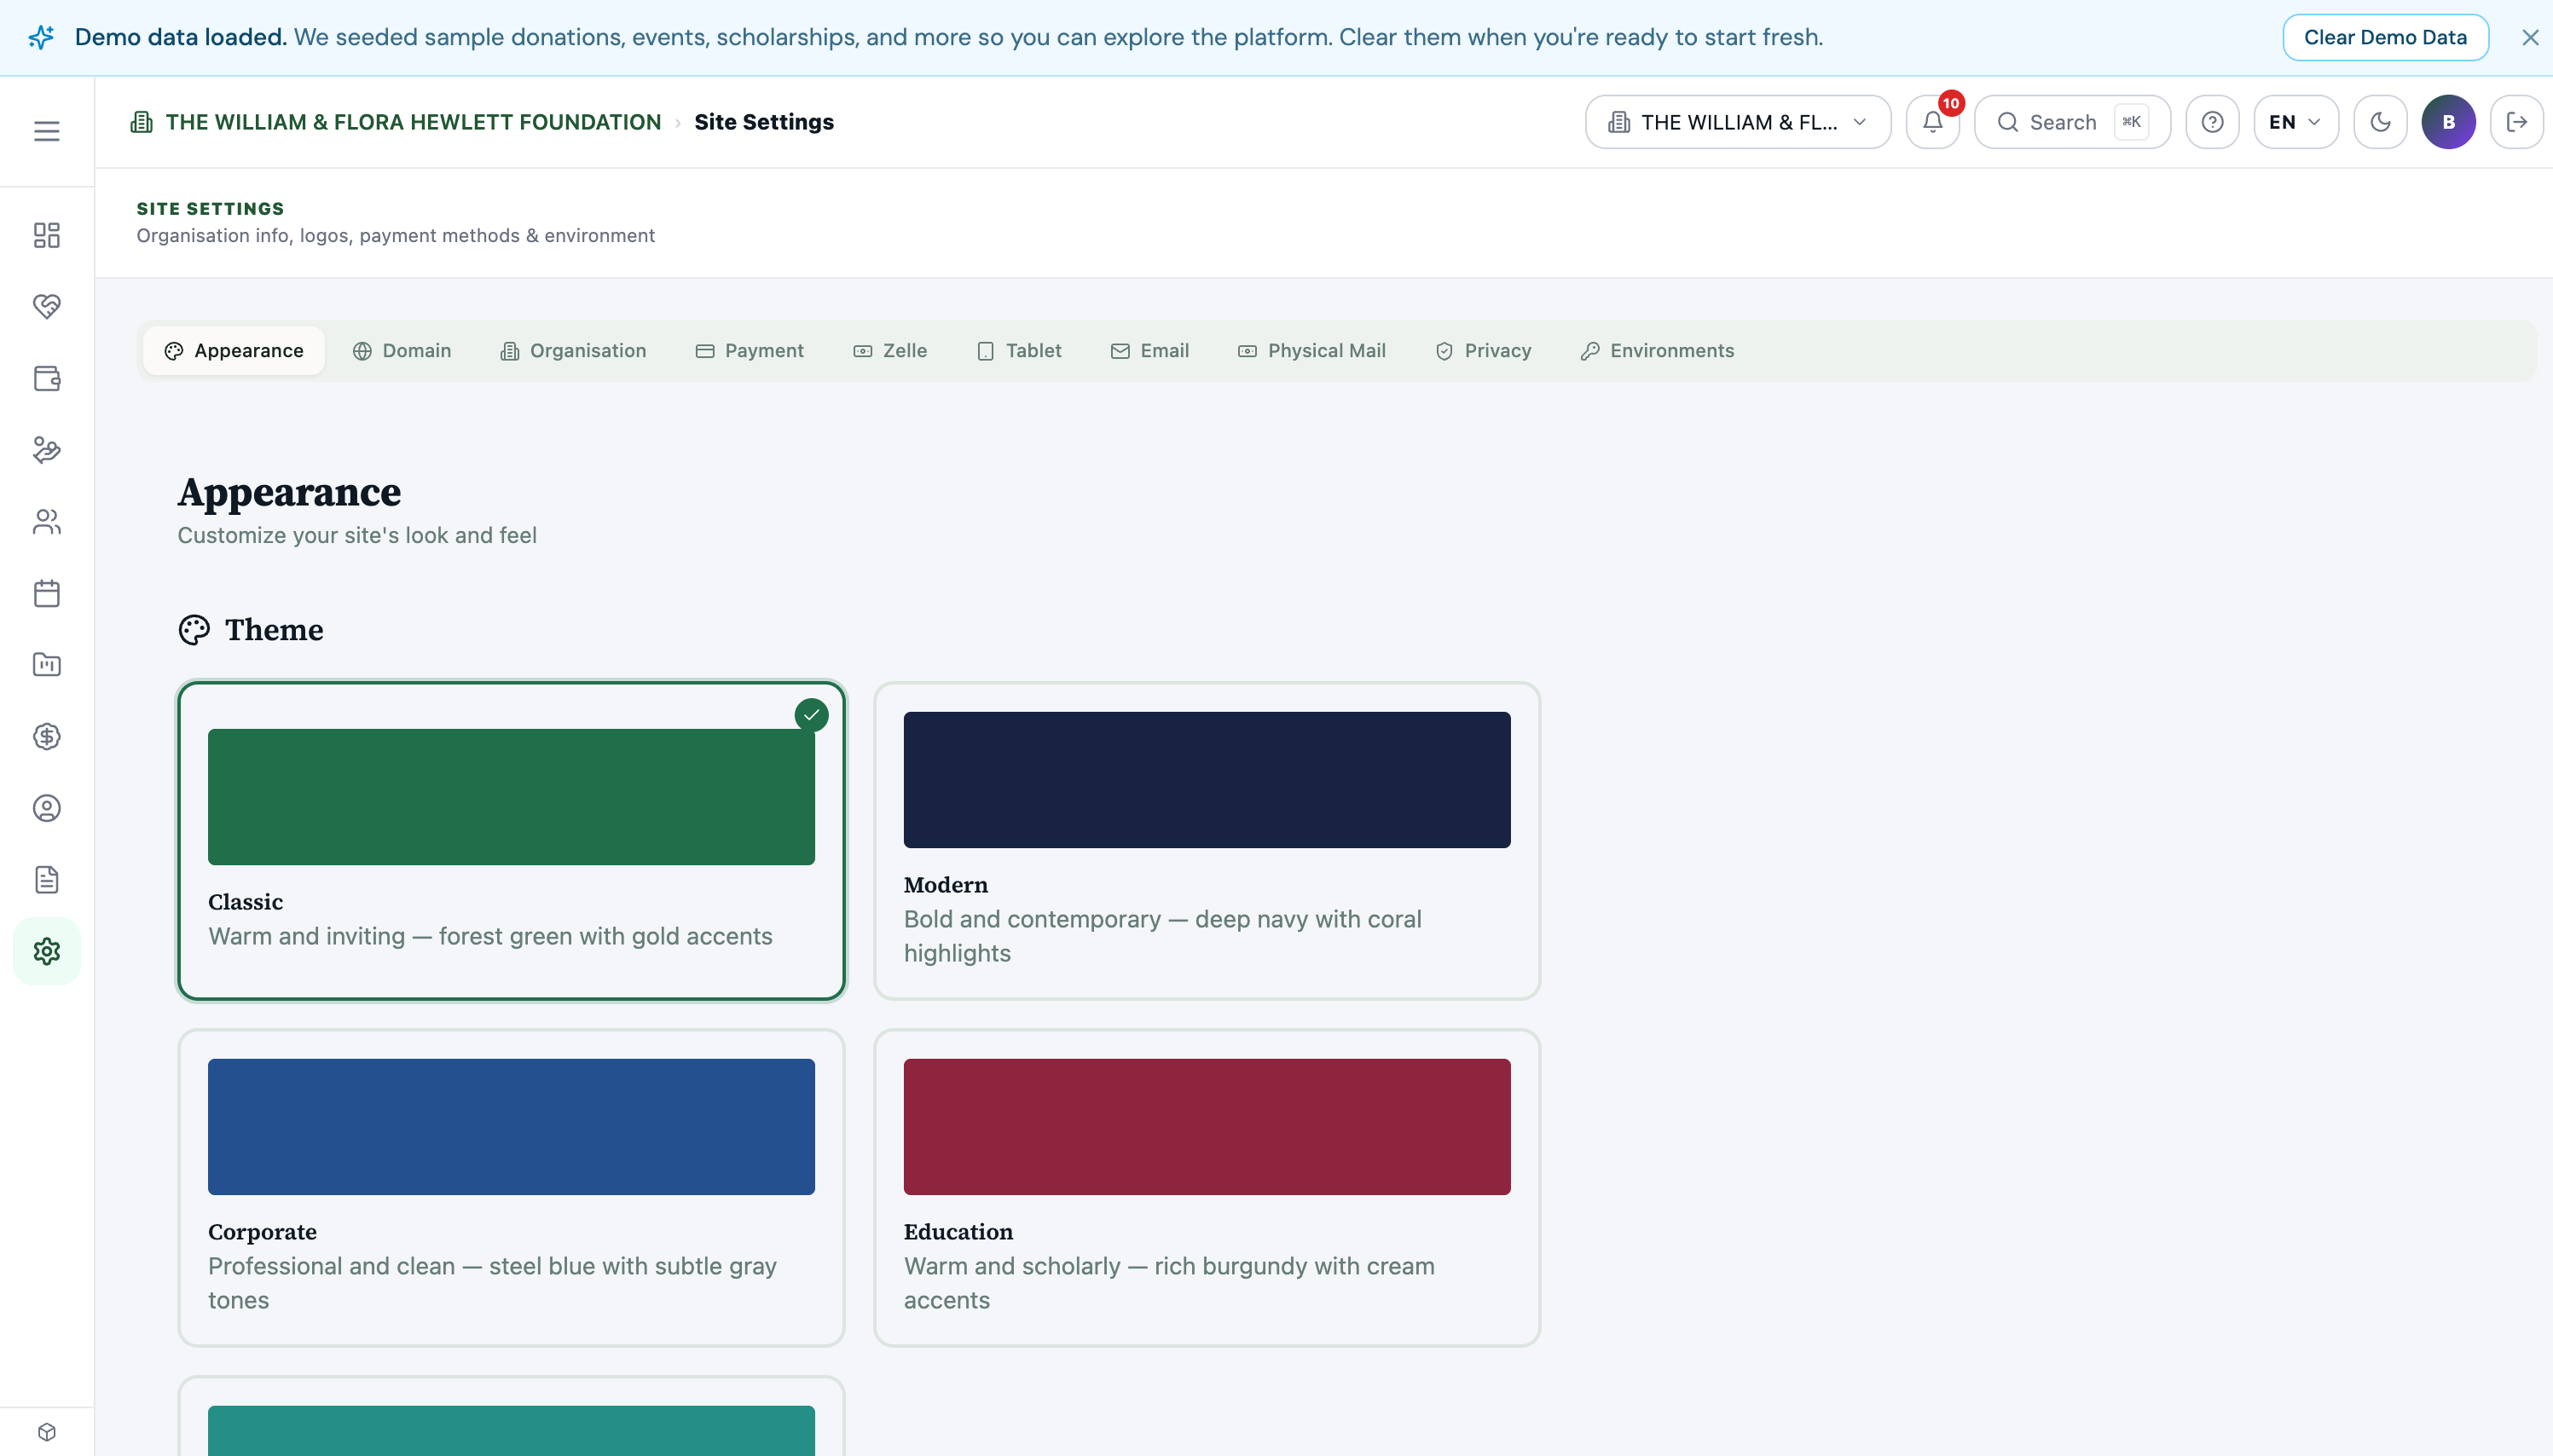
Five sections:
- Theme — Pick one of five built-in themes (Classic, Modern, Corporate, Education, Community). Each sets a primary/secondary colour family and font pairing.
- Color Overrides — Override the theme's primary and secondary colours with hex values. Cleared overrides fall back to the theme default.
- Typography — Pick a Google Font (10 curated options including Inter, DM Sans, Poppins).
- Logos & Favicon — Three uploaders:
- Header logo → shown in the public navbar. - Footer logo → shown in the public footer. - Favicon → browser tab icon. All three pull from / save to the Media Library so you don't have to upload twice.
- Trust Badges — Footer-strip rosettes (Candid Platinum, Charity Navigator, BBB, etc.). For each badge add an image URL, an optional verification link, and alt text.
Click Save Appearance at the bottom to persist colours/font/logos. Theme and colour changes preview live as you click.
Payment
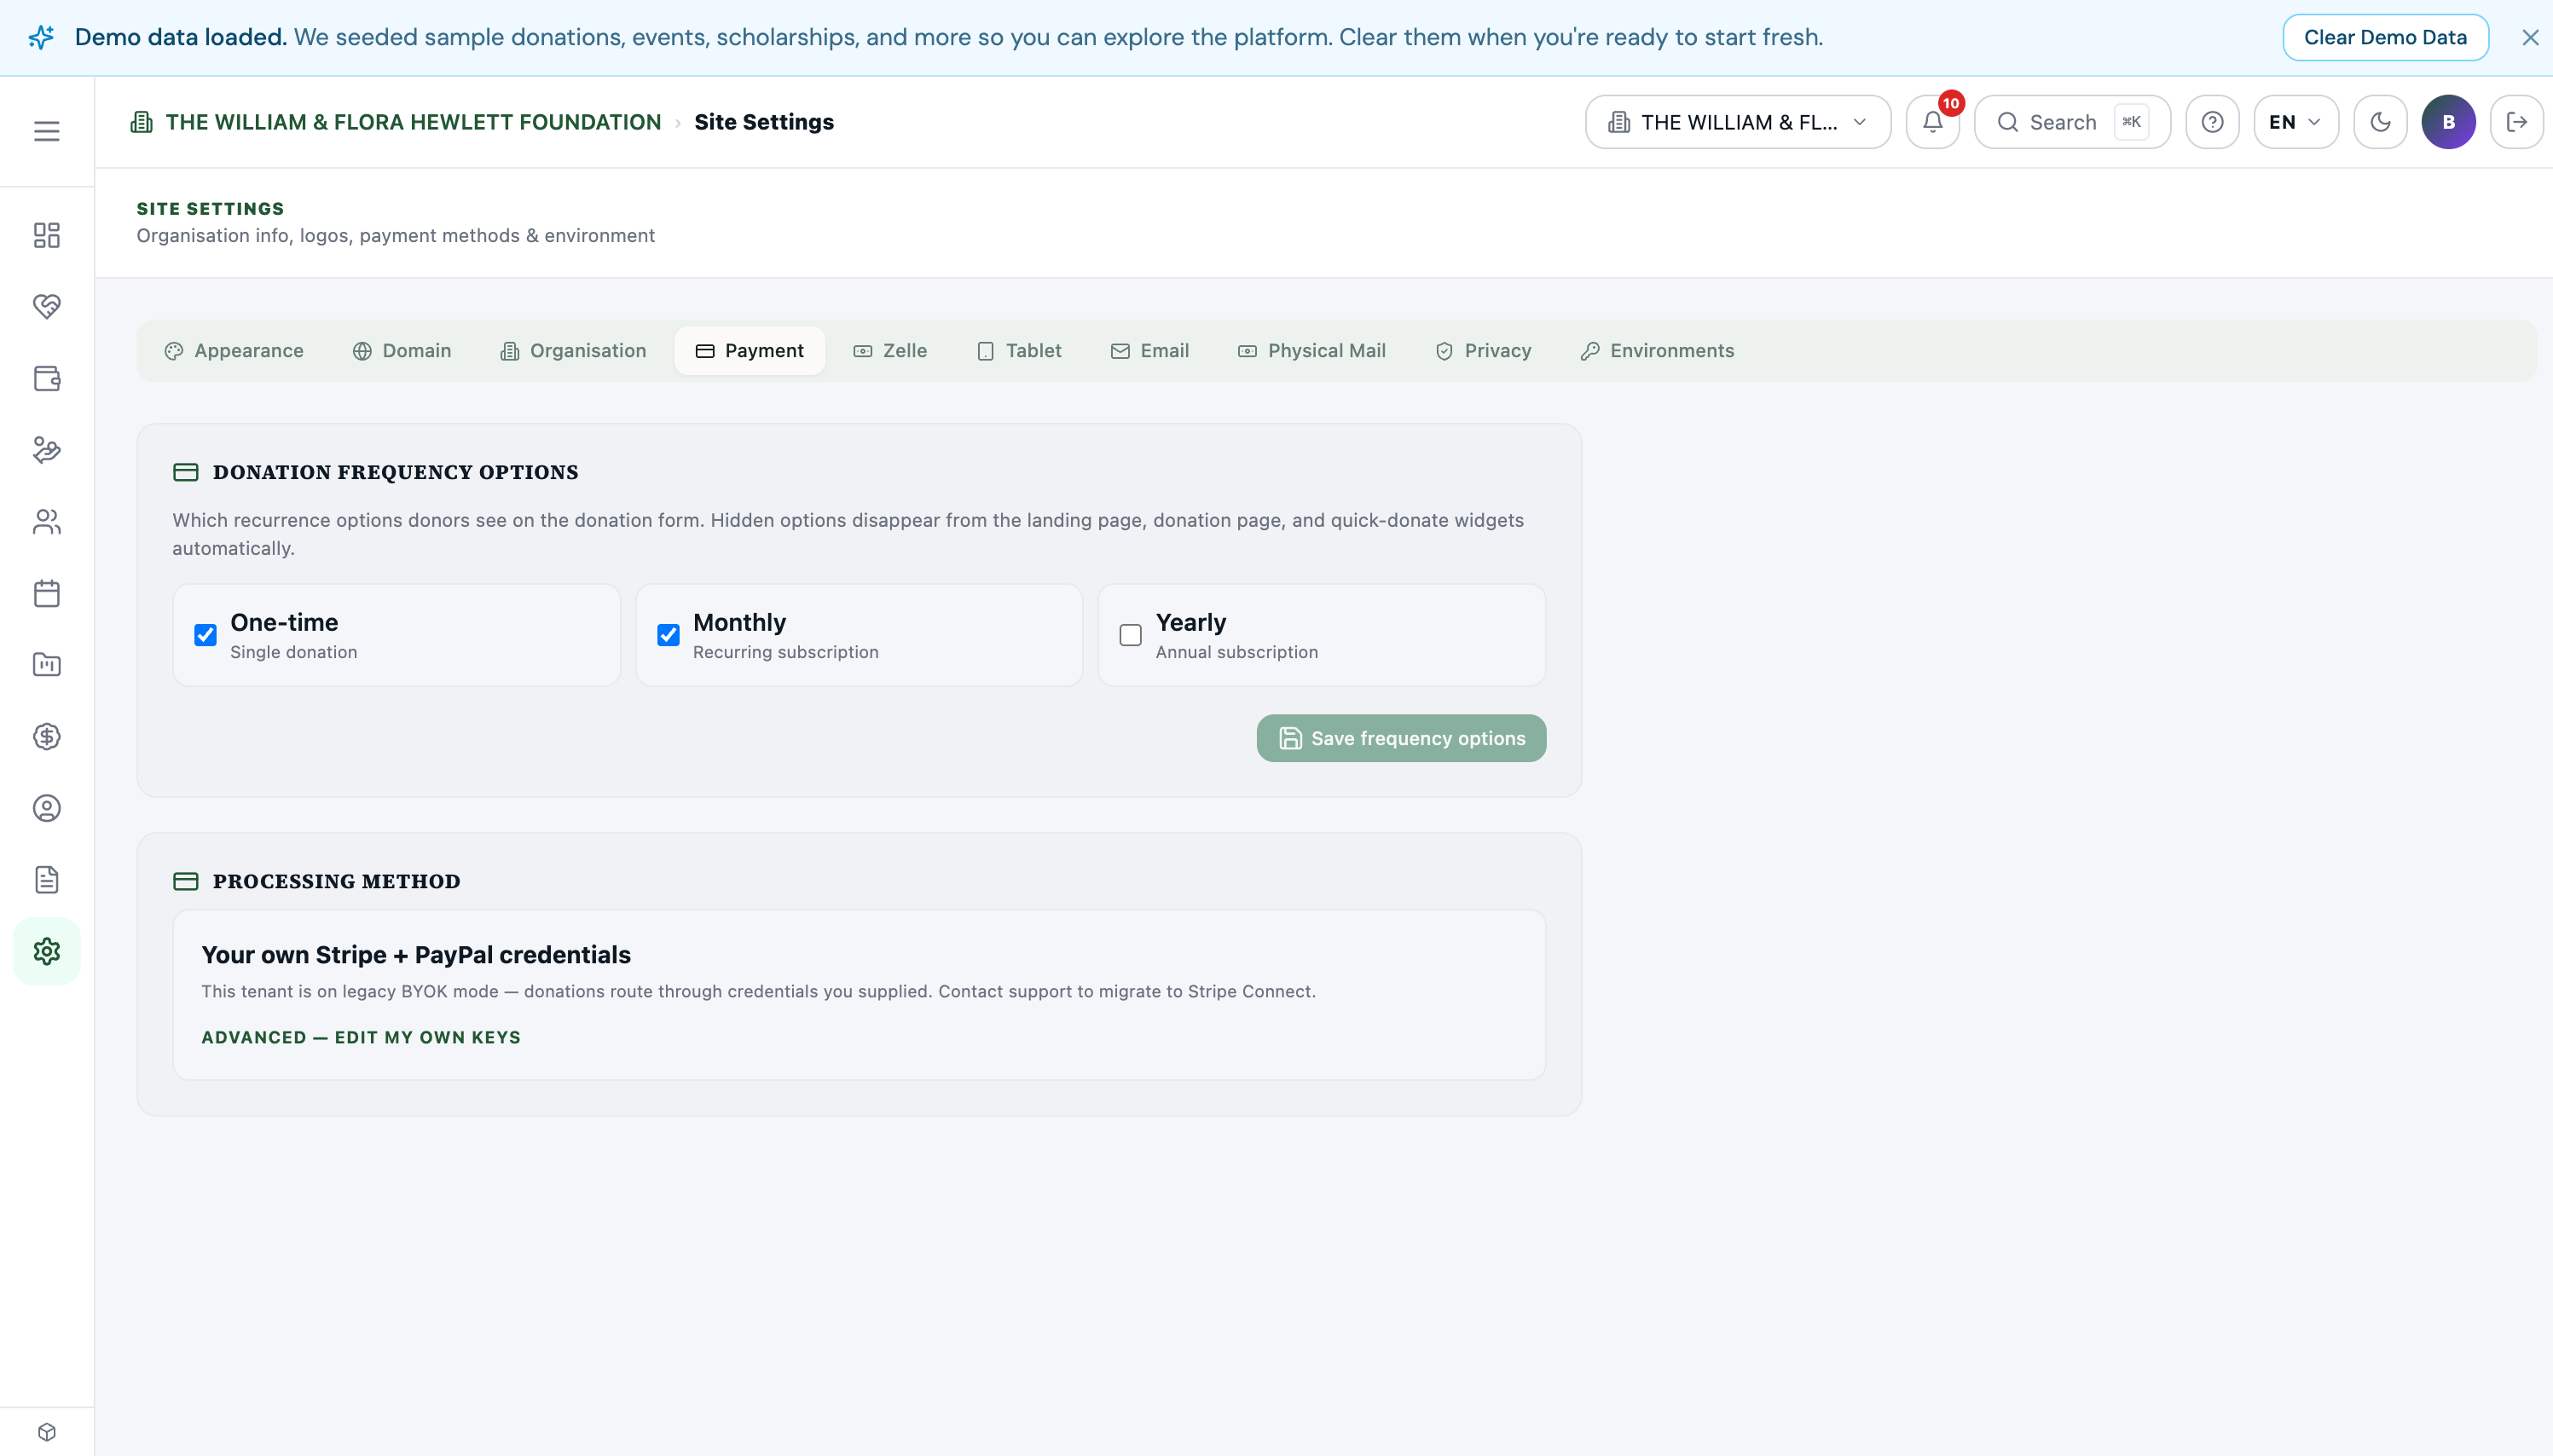
Two cards:
- Donation frequency options — checkboxes for One-time, Monthly, Yearly. Unchecked options disappear from public donation forms.
- Processing method — the active path your donations route through:
- Stripe Connect (Koolay-facilitated) — default for new tenants. Koolay's Stripe Connect account holds the platform key; an Express sub-account routes payouts to your bank. No API keys to manage. The Stripe Connect onboarding wizard is embedded directly in this tab when this mode is active. - Legacy BYOK (api_key mode) — for tenants who supplied their own Stripe + PayPal credentials before Connect existed. The full credentials form (Stripe publishable/secret keys, webhook secret, PayPal client ID/secret) is hidden by default to keep the tab clean; click Advanced — Edit my own keys to reveal it.
Switching modes: Contact support to migrate between BYOK and Connect. The backend reads your Stripe credentials from payment_gateway_settings regardless of which mode the admin UI shows, so existing donation flows are uninterrupted while you decide.
Matching Gift (Double the Donation)
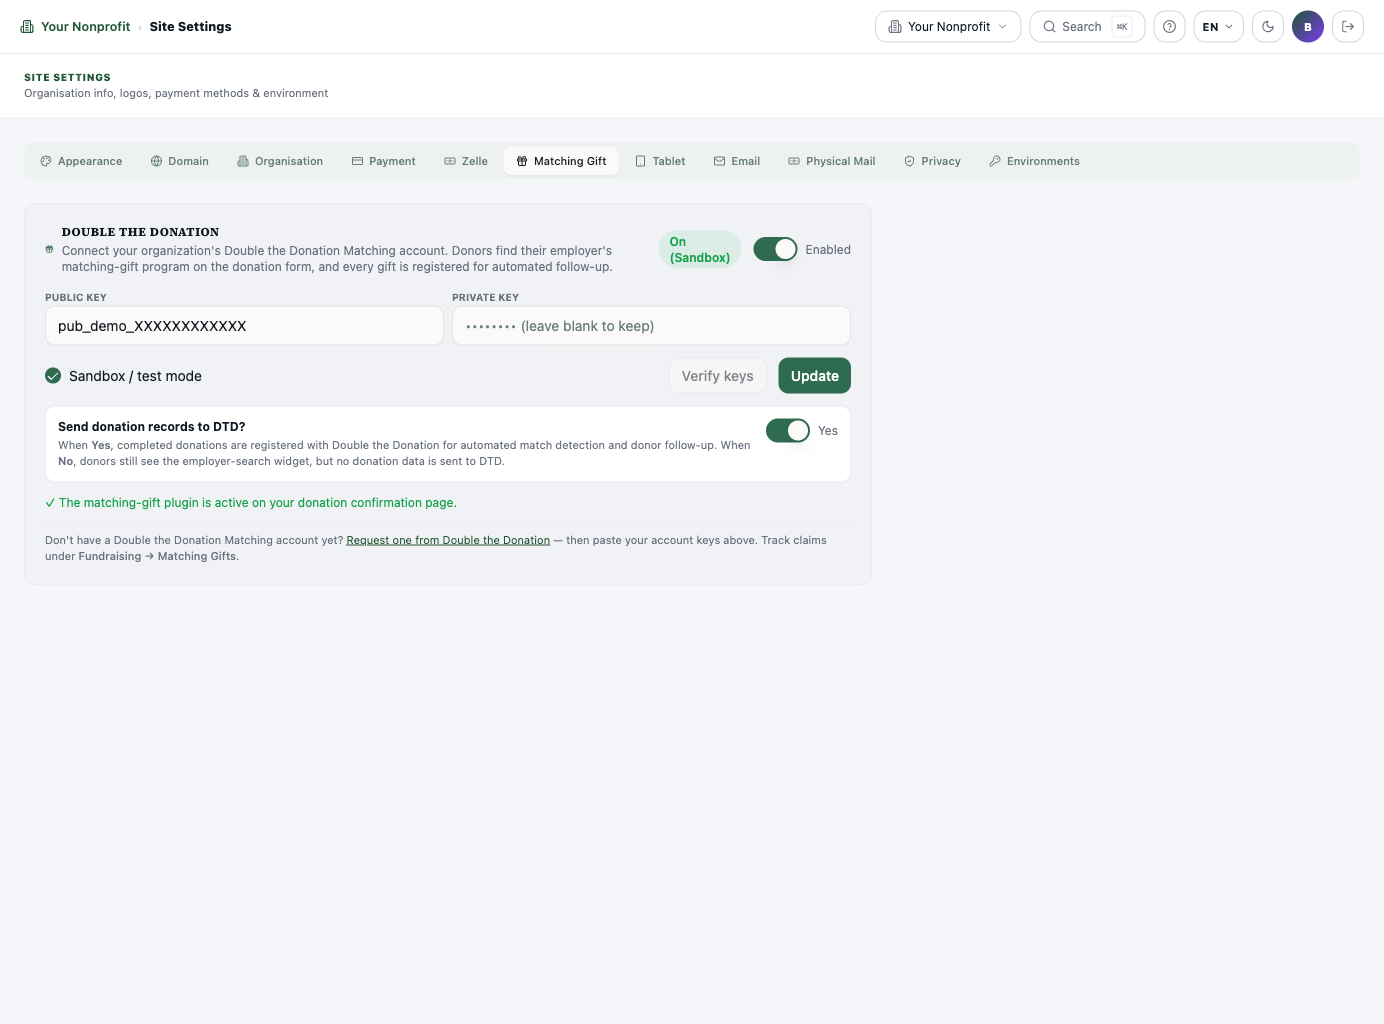
The Matching Gift tab connects your organisation's own Double the Donation Matching account. Once connected, donors can look up their employer's matching-gift program right on your donation form, and every completed gift is registered with Double the Donation for automatic match detection and donor follow-up. Matched claims are then tracked under Fundraising → Matching Gifts.
You connect your own account. Each nonprofit links its own Double the Donation Matching account — Koolay does not share a single account across tenants. The public key powers the donor-facing widget; the private key is server-only and is never read back into the browser. If you don't have an account yet, click Request one from Double the Donation in the card to get started.
Activating step by step
- Log in to your Koolay admin console and open Settings → Site Settings from the sidebar.
- **Click the Matching Gift tab in the row of tabs at the top of the Site Settings page. You'll see the Double the Donation** card with a status badge that reads Not configured until you connect.
- Paste your keys. Copy your Public key and Private key from your Double the Donation Matching account dashboard and paste them into the Public Key and Private Key fields.
- **(Optional) Tick *Sandbox / test mode*** if you're testing with Double the Donation Matching sandbox keys. Leave it unchecked for live, production keys. The badge shows On (Sandbox) while sandbox mode is on.
- **Click *Verify keys*** to confirm both keys are valid against the Double the Donation partner API before going live. A green ✓ means the keys check out; a red message tells you which key is invalid.
- **Click *Connect*** (the button reads Update once keys are already saved) to store the configuration. The status badge flips to On and a confirmation message appears: "The matching-gift plugin is active on your donation confirmation page."
After it's connected
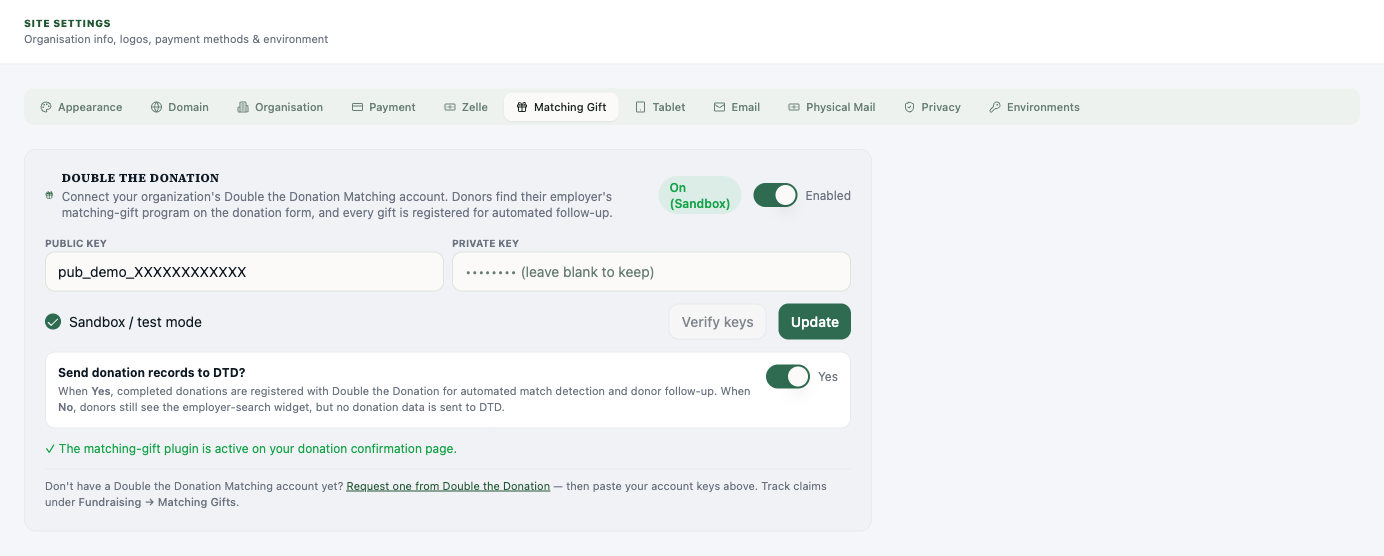
- Enabled toggle — flip the integration on or off without clearing your keys. Turning it off stops the donor-facing widget from loading; your keys stay saved so re-enabling is one click.
- Send donation records to DTD? — when Yes, completed donations are registered with Double the Donation for match detection and follow-up. Switch to No to keep the employer-search widget on your site but stop pushing donation records to DTD.
- Updating keys later — re-open the tab, paste a new Public Key (and a new Private Key if it changed — leave the private field blank to keep the stored one), then click Update.
Tracking matches: Once connected, head to Fundraising → Matching Gifts to see employer matches detected, claim status, and donor follow-up — that's the day-to-day tracker. This tab is only the one-time account connection.
Zelle
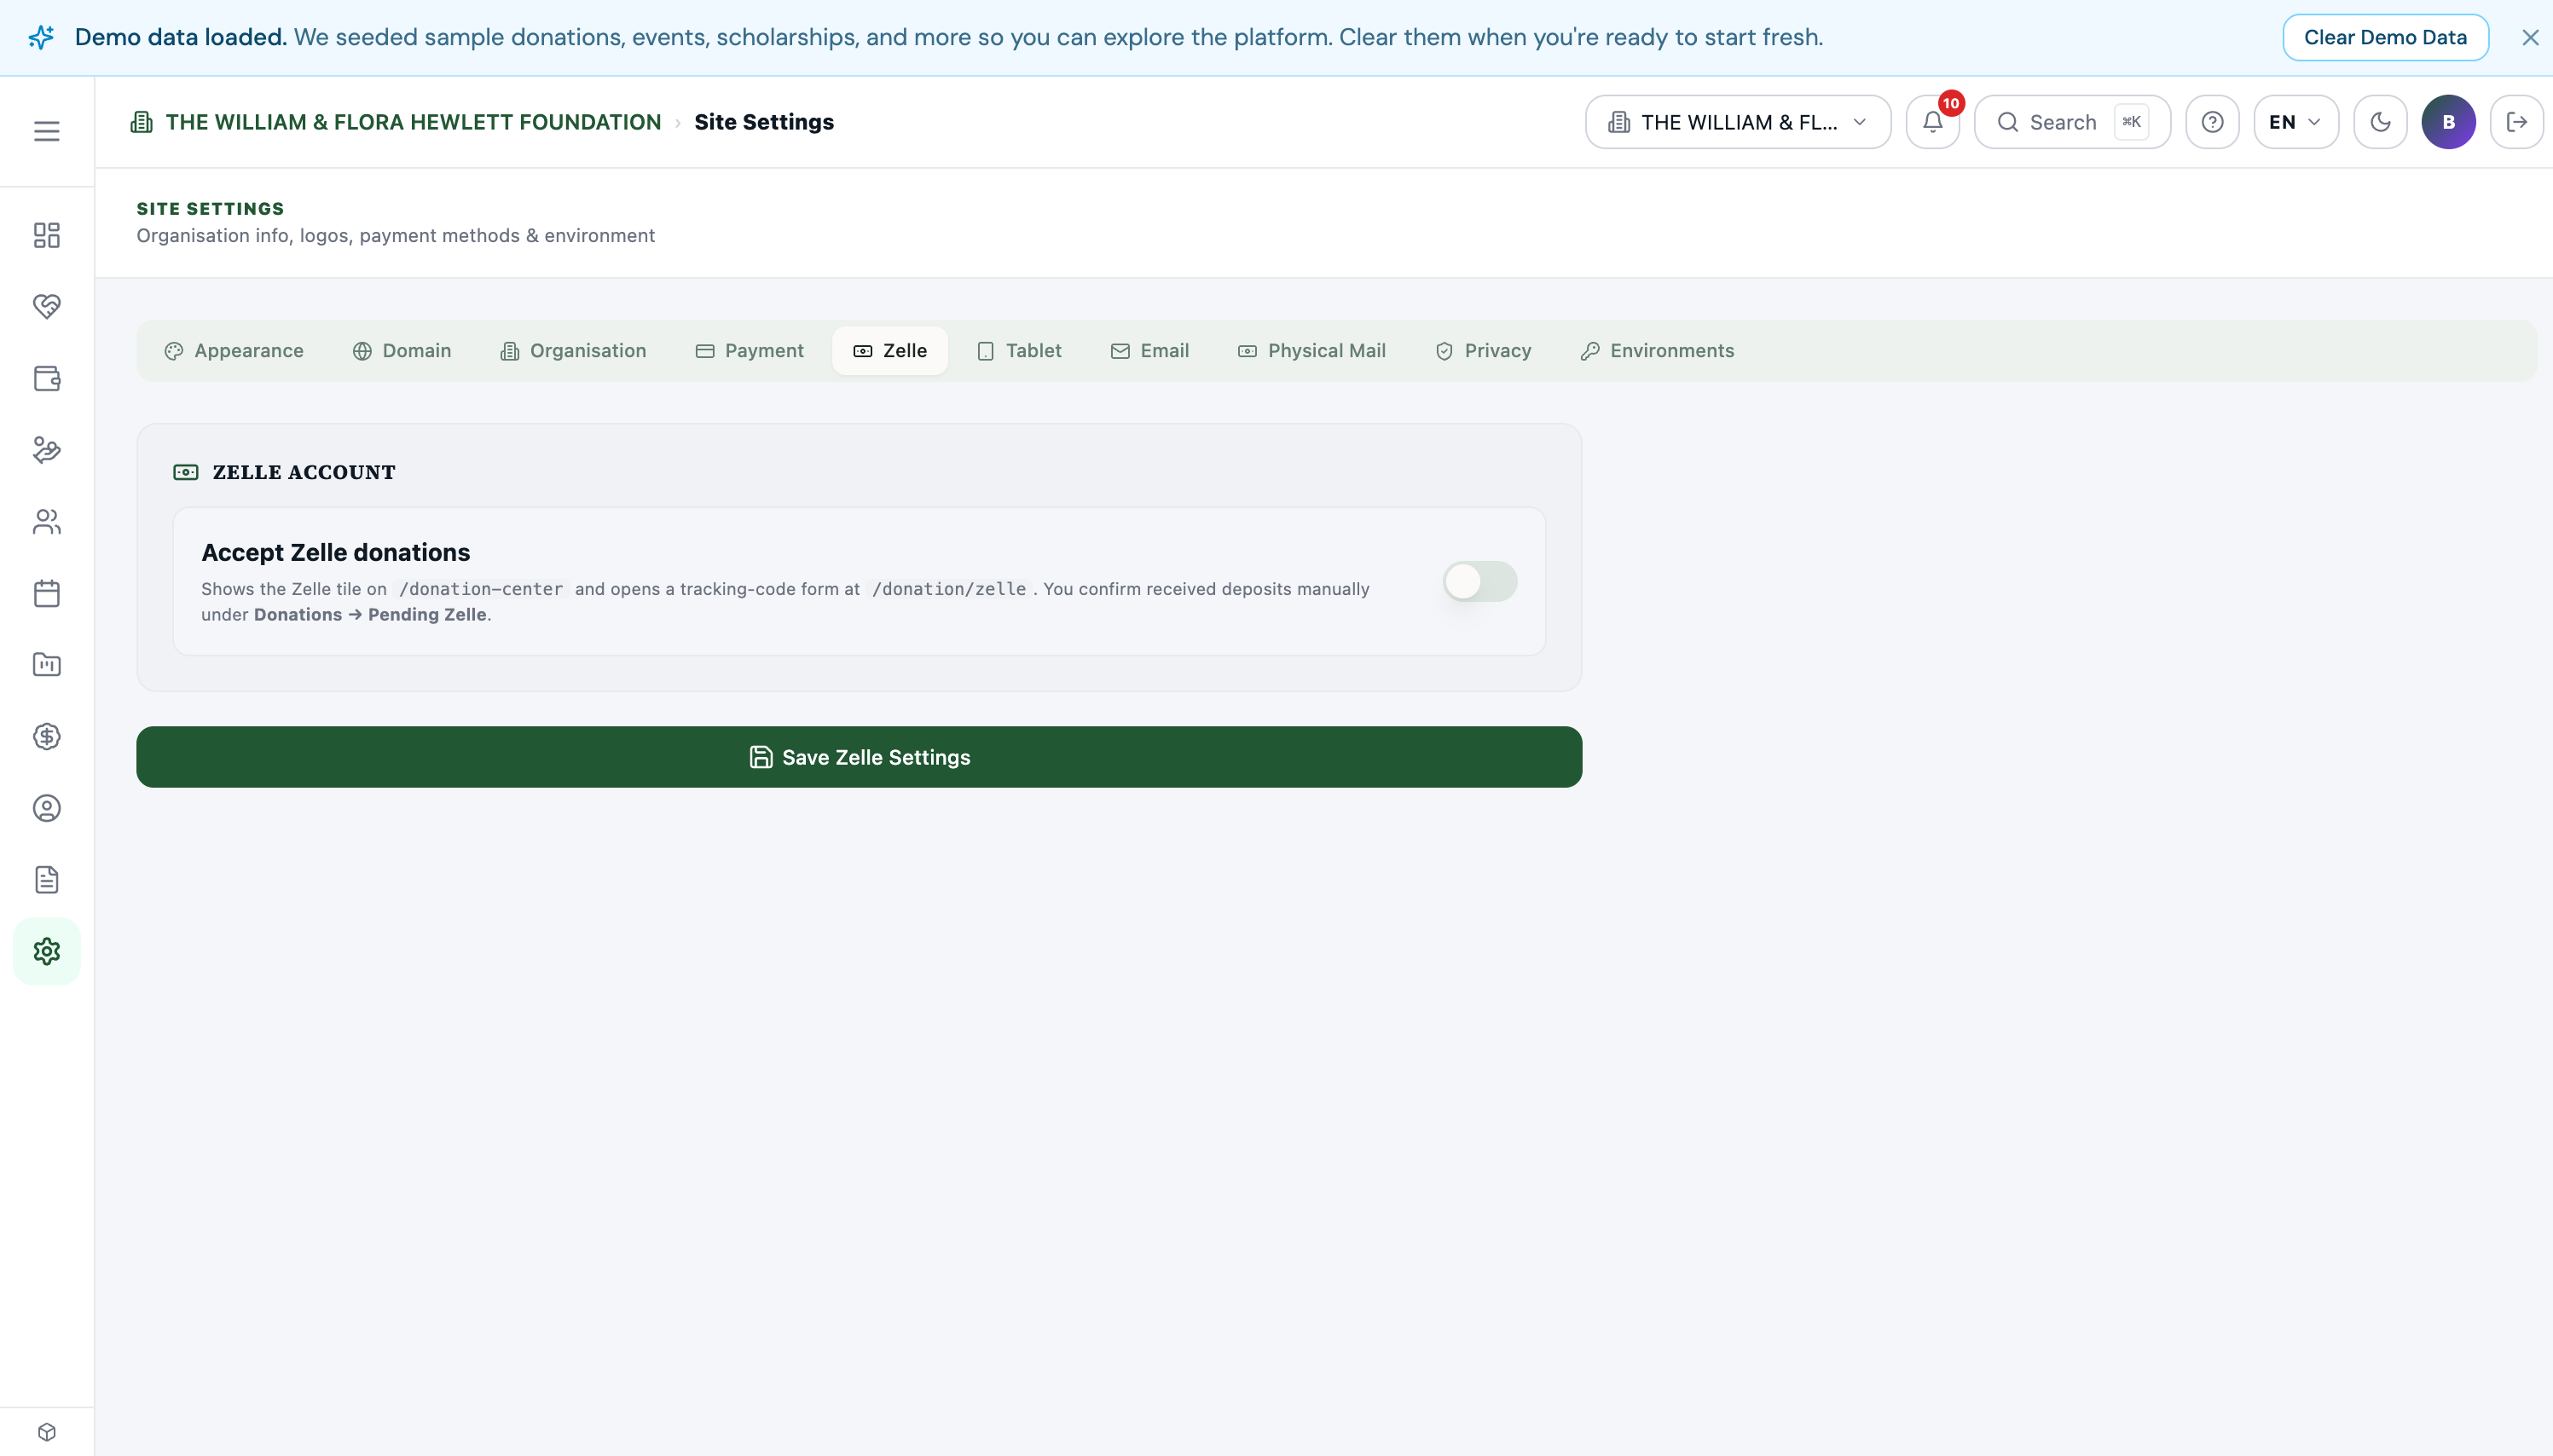
Turn on Zelle to surface a Zelle tile on /donation-center. When a donor picks Zelle, they see a tracking-code page at /donation/zelle and you manually confirm the deposit under Donations → Pending Zelle.
Fields when enabled:
- Recipient display name — what donors see as the recipient.
- Zelle email — the email registered with your bank.
- Zelle phone (optional) — alternate routing for banks that prefer phone.
- Extra instructions — free-form note shown to the donor (e.g. "We confirm Zelle deposits weekdays before 5 pm PT").
Tablet
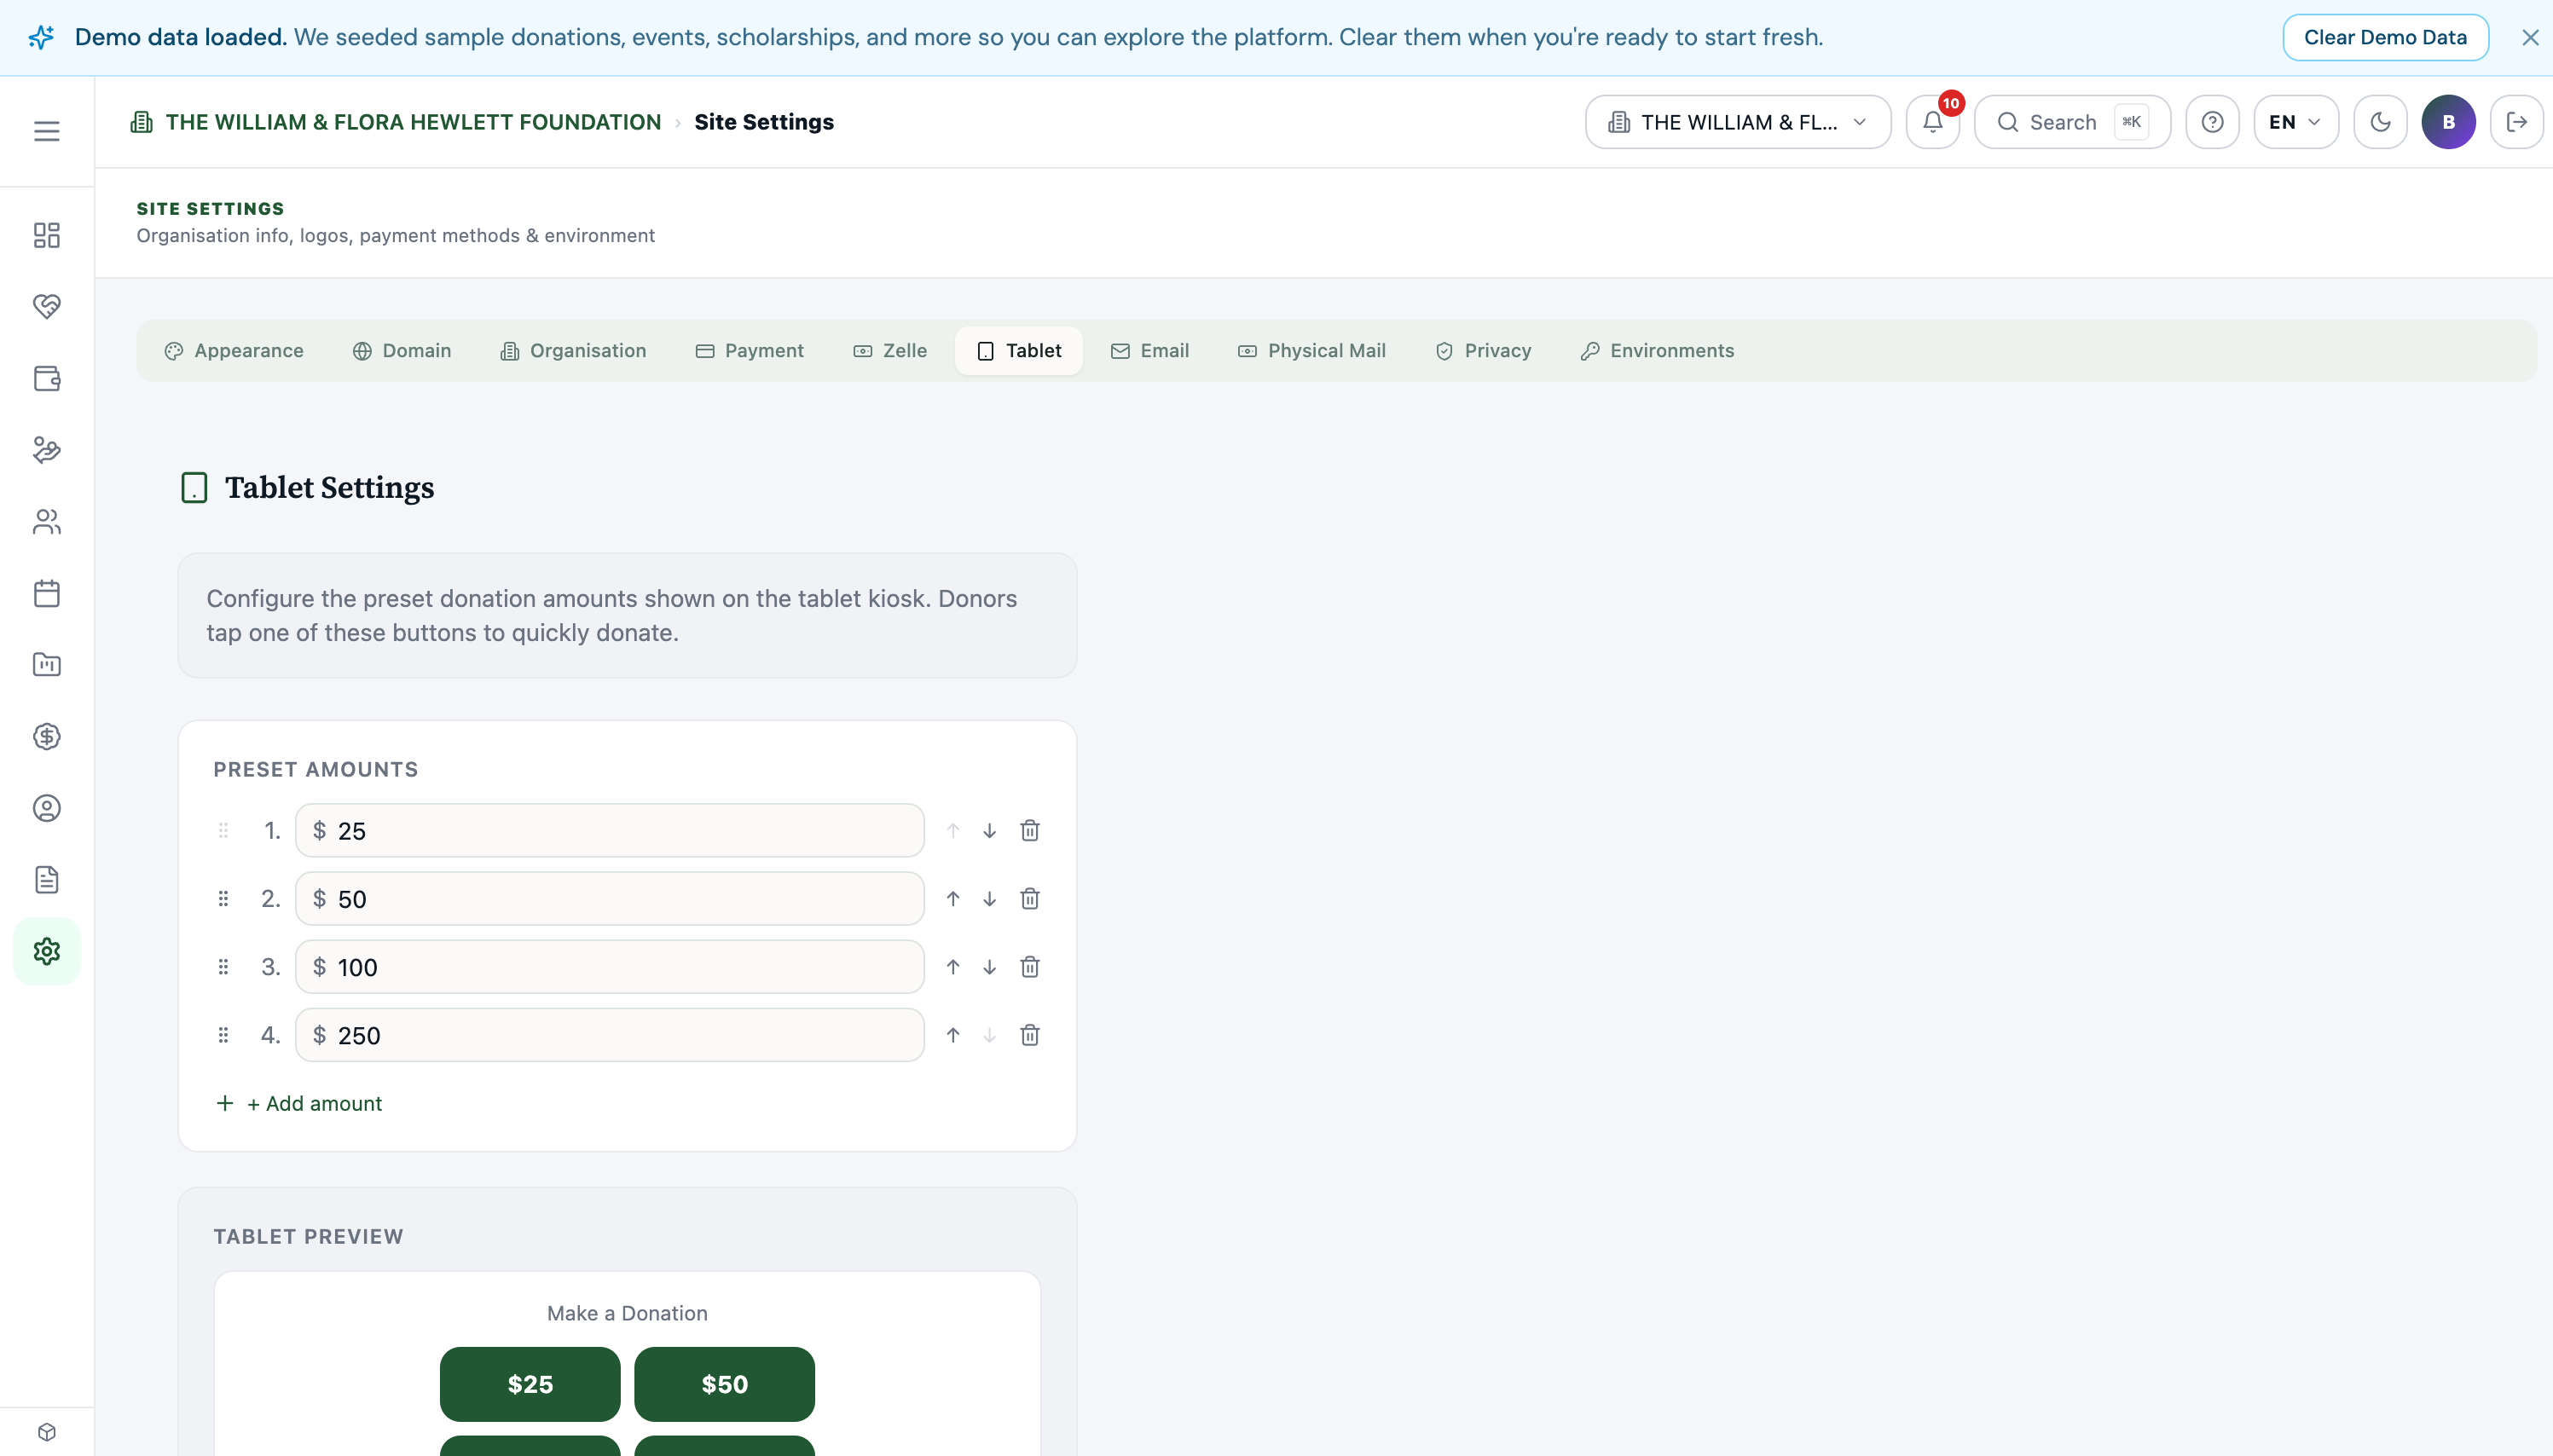
Configure the preset amounts shown on the in-person tablet kiosk. Donors tap one of these buttons (or Custom Amount) to start a donation flow on the tablet.
- Add / remove preset amounts (min 2, max 8).
- Drag the up/down arrows to reorder.
- A live preview panel shows what the tablet screen will look like with your current configuration.
Organisation
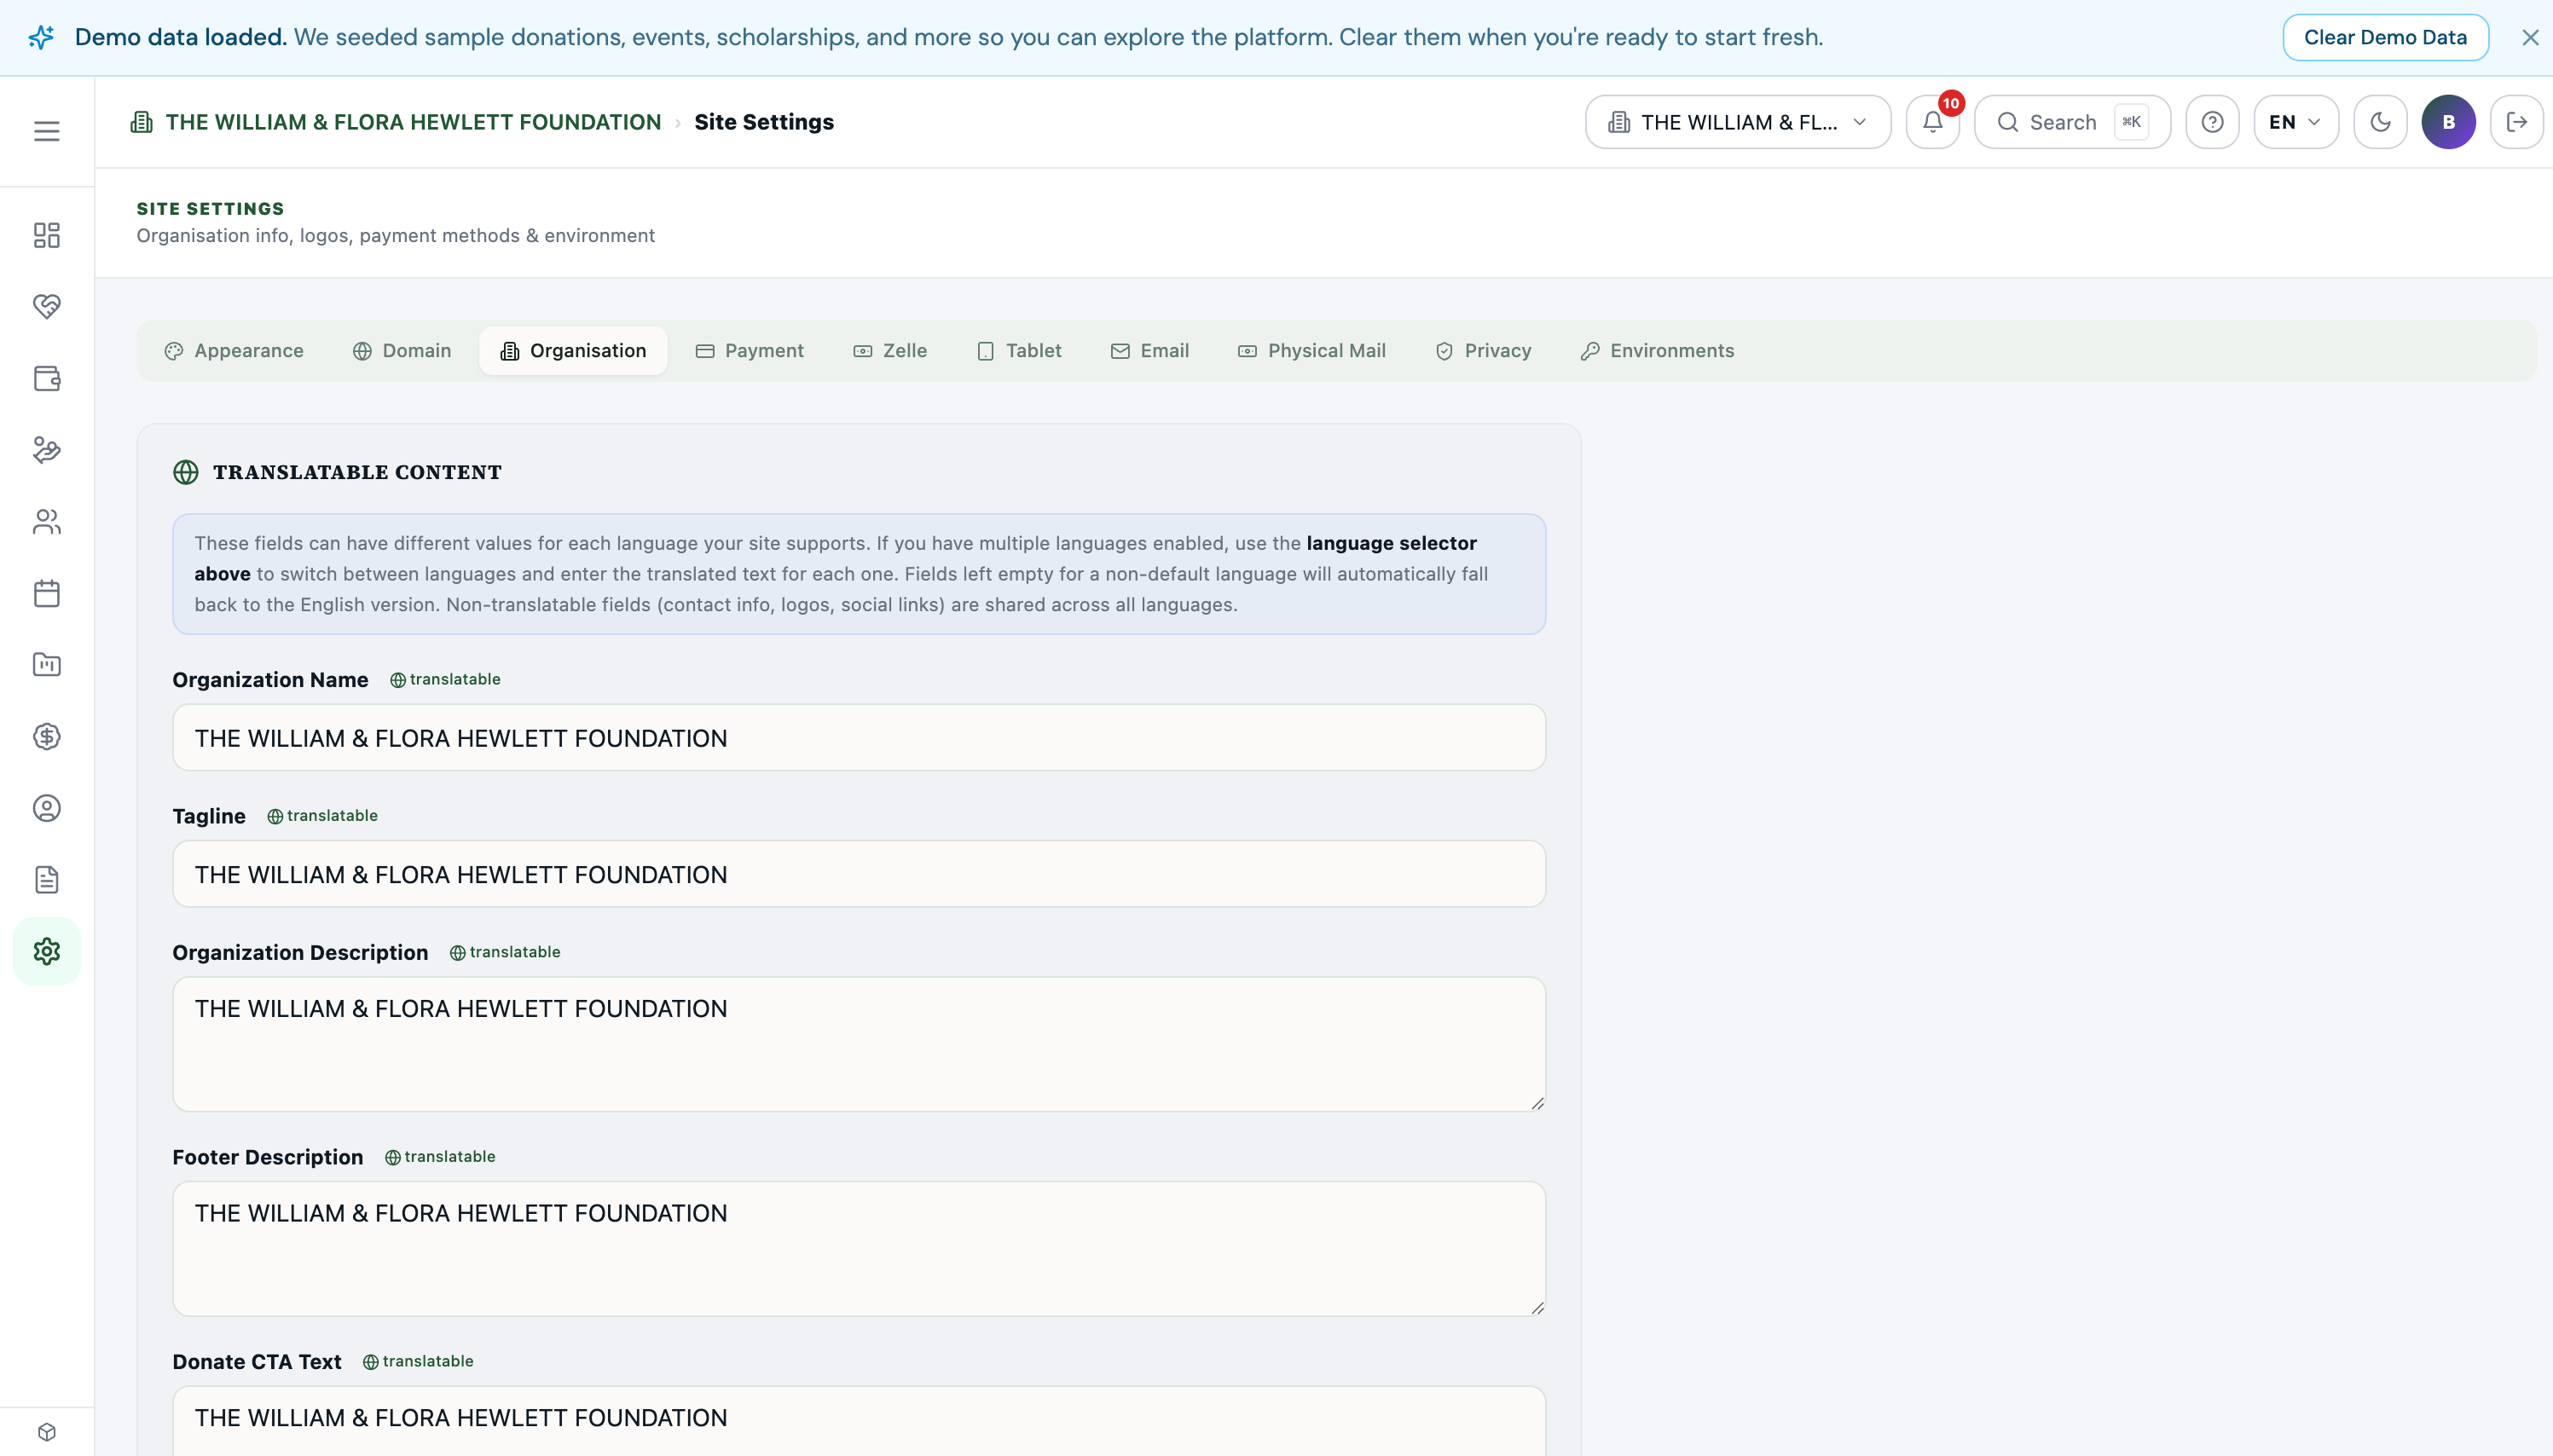
Legal and contact information about your organisation:
- Name / Legal name — what appears on tax receipts and footer.
- EIN (US Employer Identification Number) — required for tax-deductible receipts.
- NTEE codes — IRS activity codes (multi-select). Drives the "what we do" categorisation on the public claim page.
- Geographic focus — US state codes the organisation operates in.
- Address (US + secondary) — used on tax receipts and the contact page.
- Social links — LinkedIn, YouTube, Instagram, Pinterest URLs shown in the footer.
Note: Header / footer logos and trust badges used to live here. They were moved to Appearance on 2026-05-14 so all brand visuals live together.
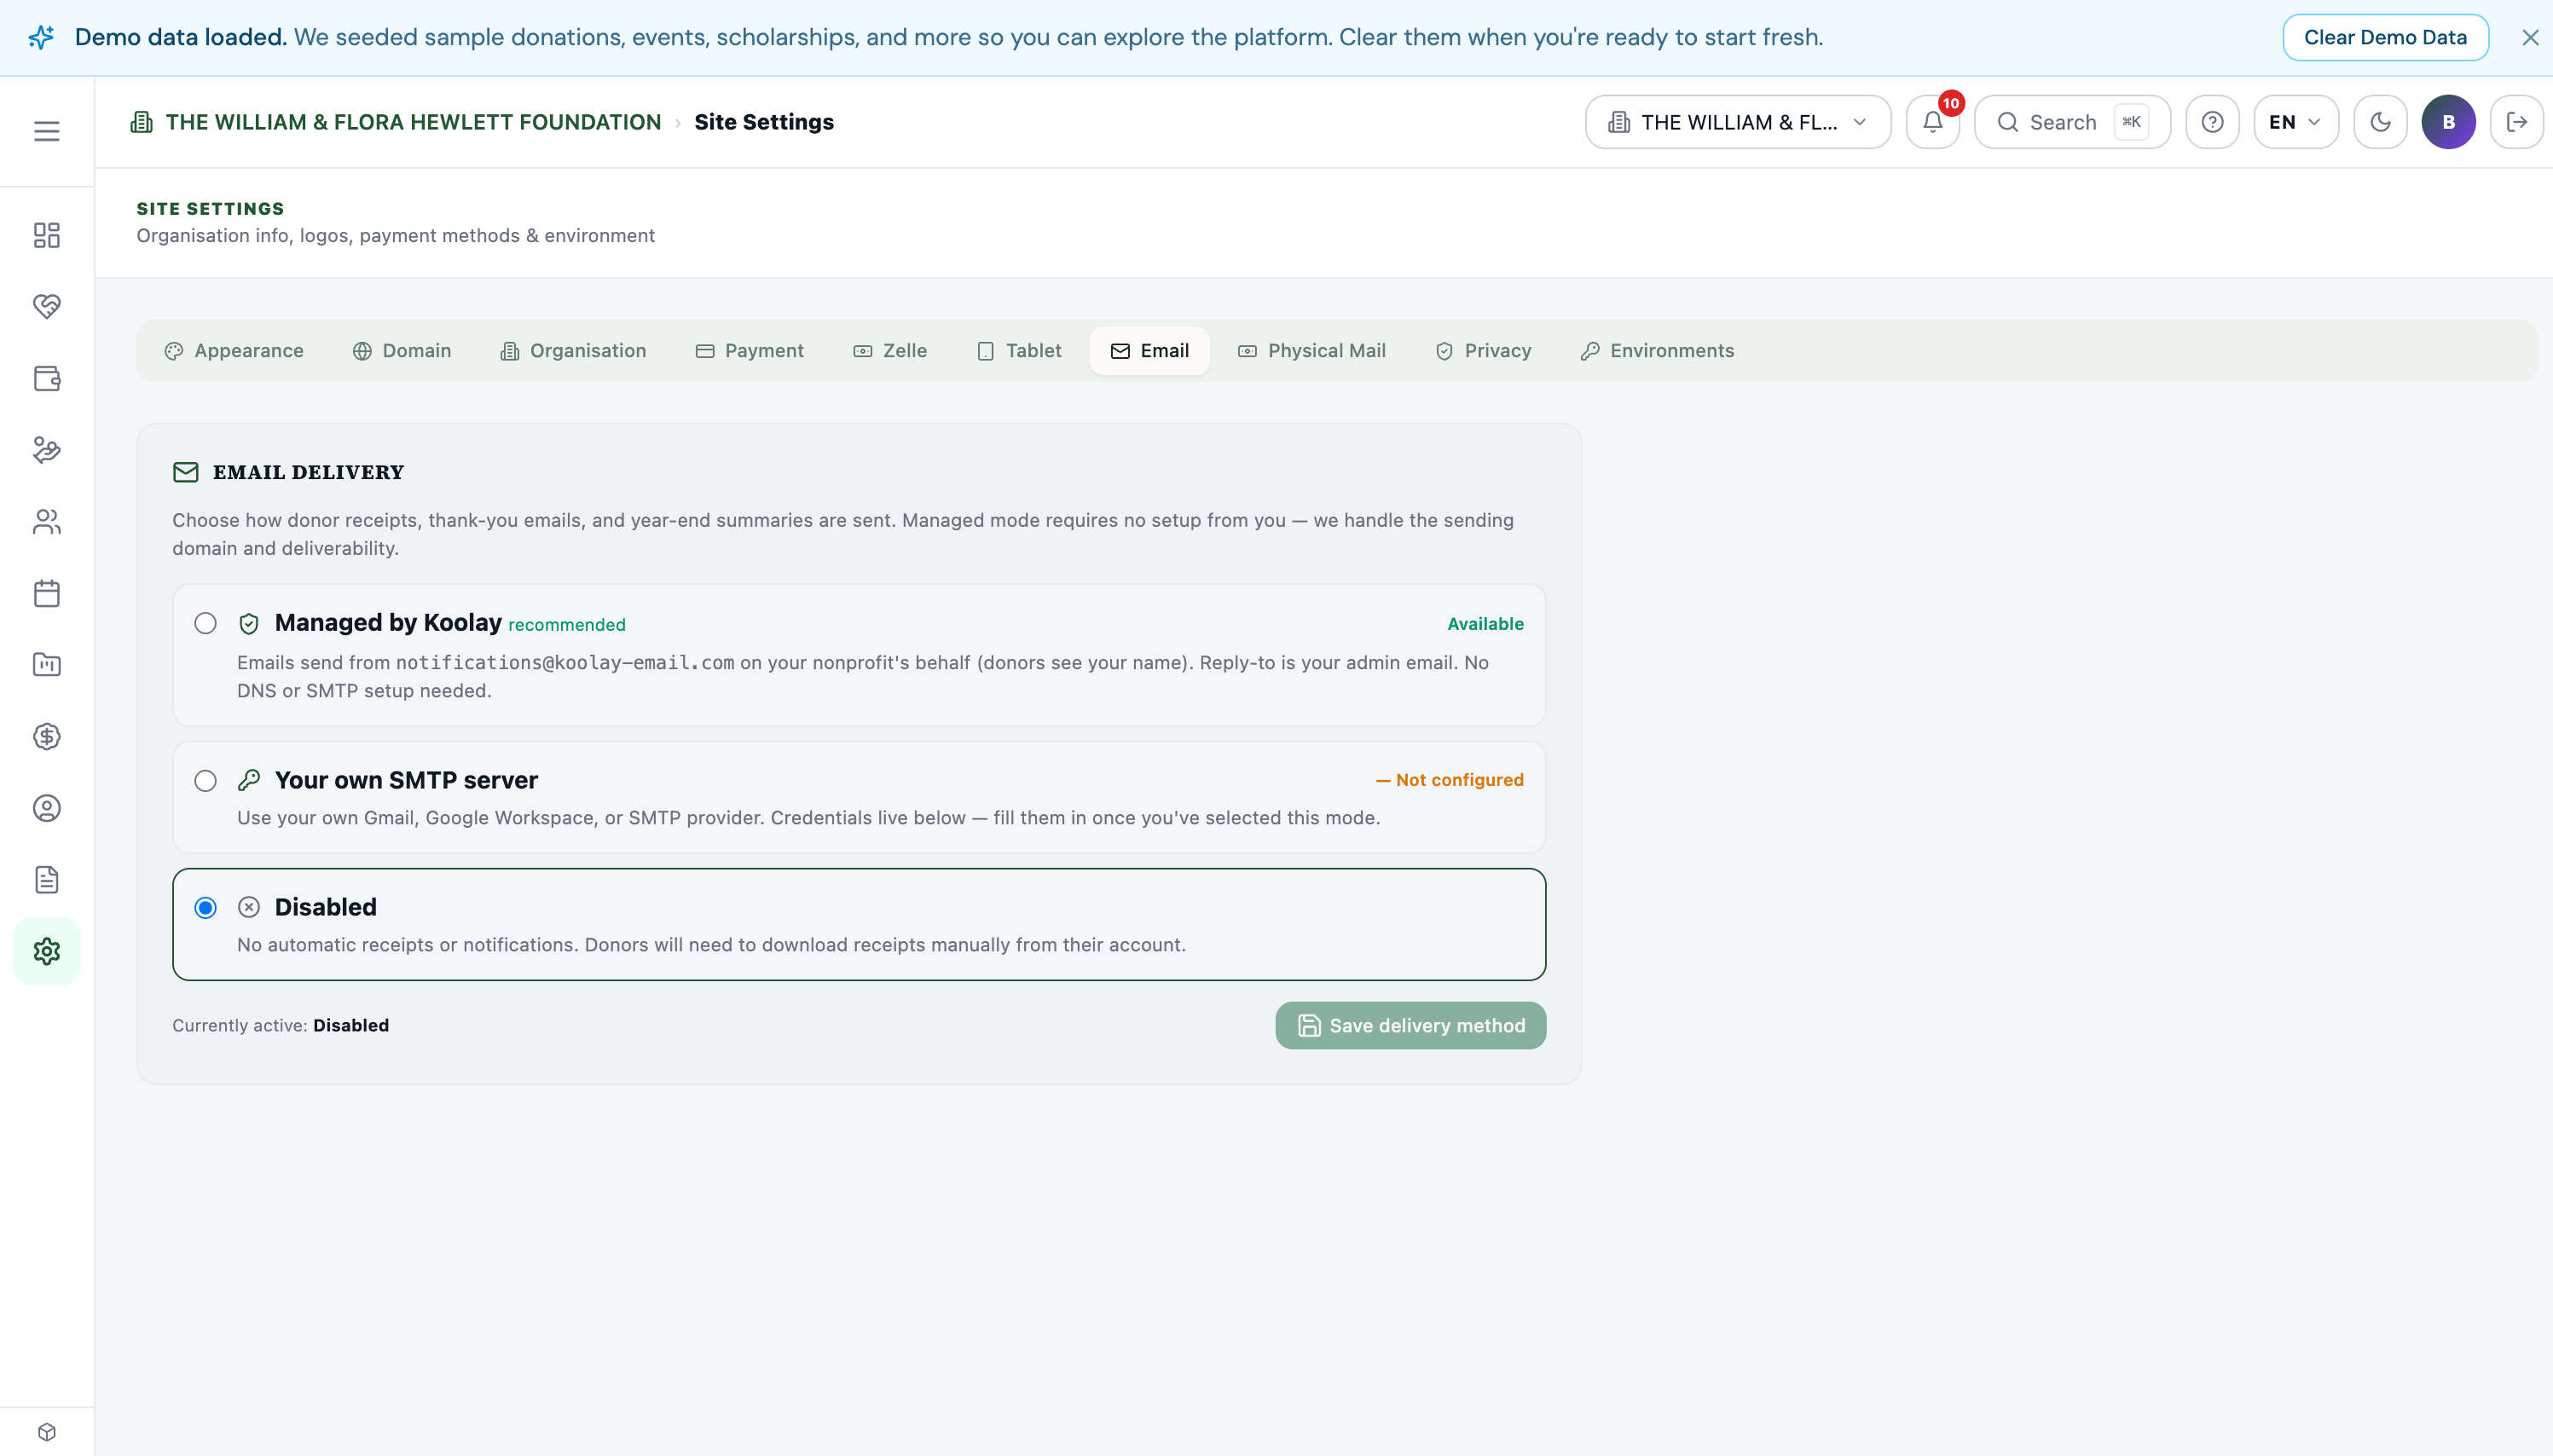
Three delivery modes:
- Managed by Koolay (recommended) — emails send from
notifications@koolay-email.comon your behalf with your reply-to. No DNS or SMTP setup. Donors see your nonprofit's name. - Your own SMTP — Gmail, Google Workspace, or any SMTP provider. The SMTP credentials form (server, port, username, password, from-address) appears below the mode picker when selected.
- Disabled — no automatic mail. Donors download receipts manually from their account.
Privacy
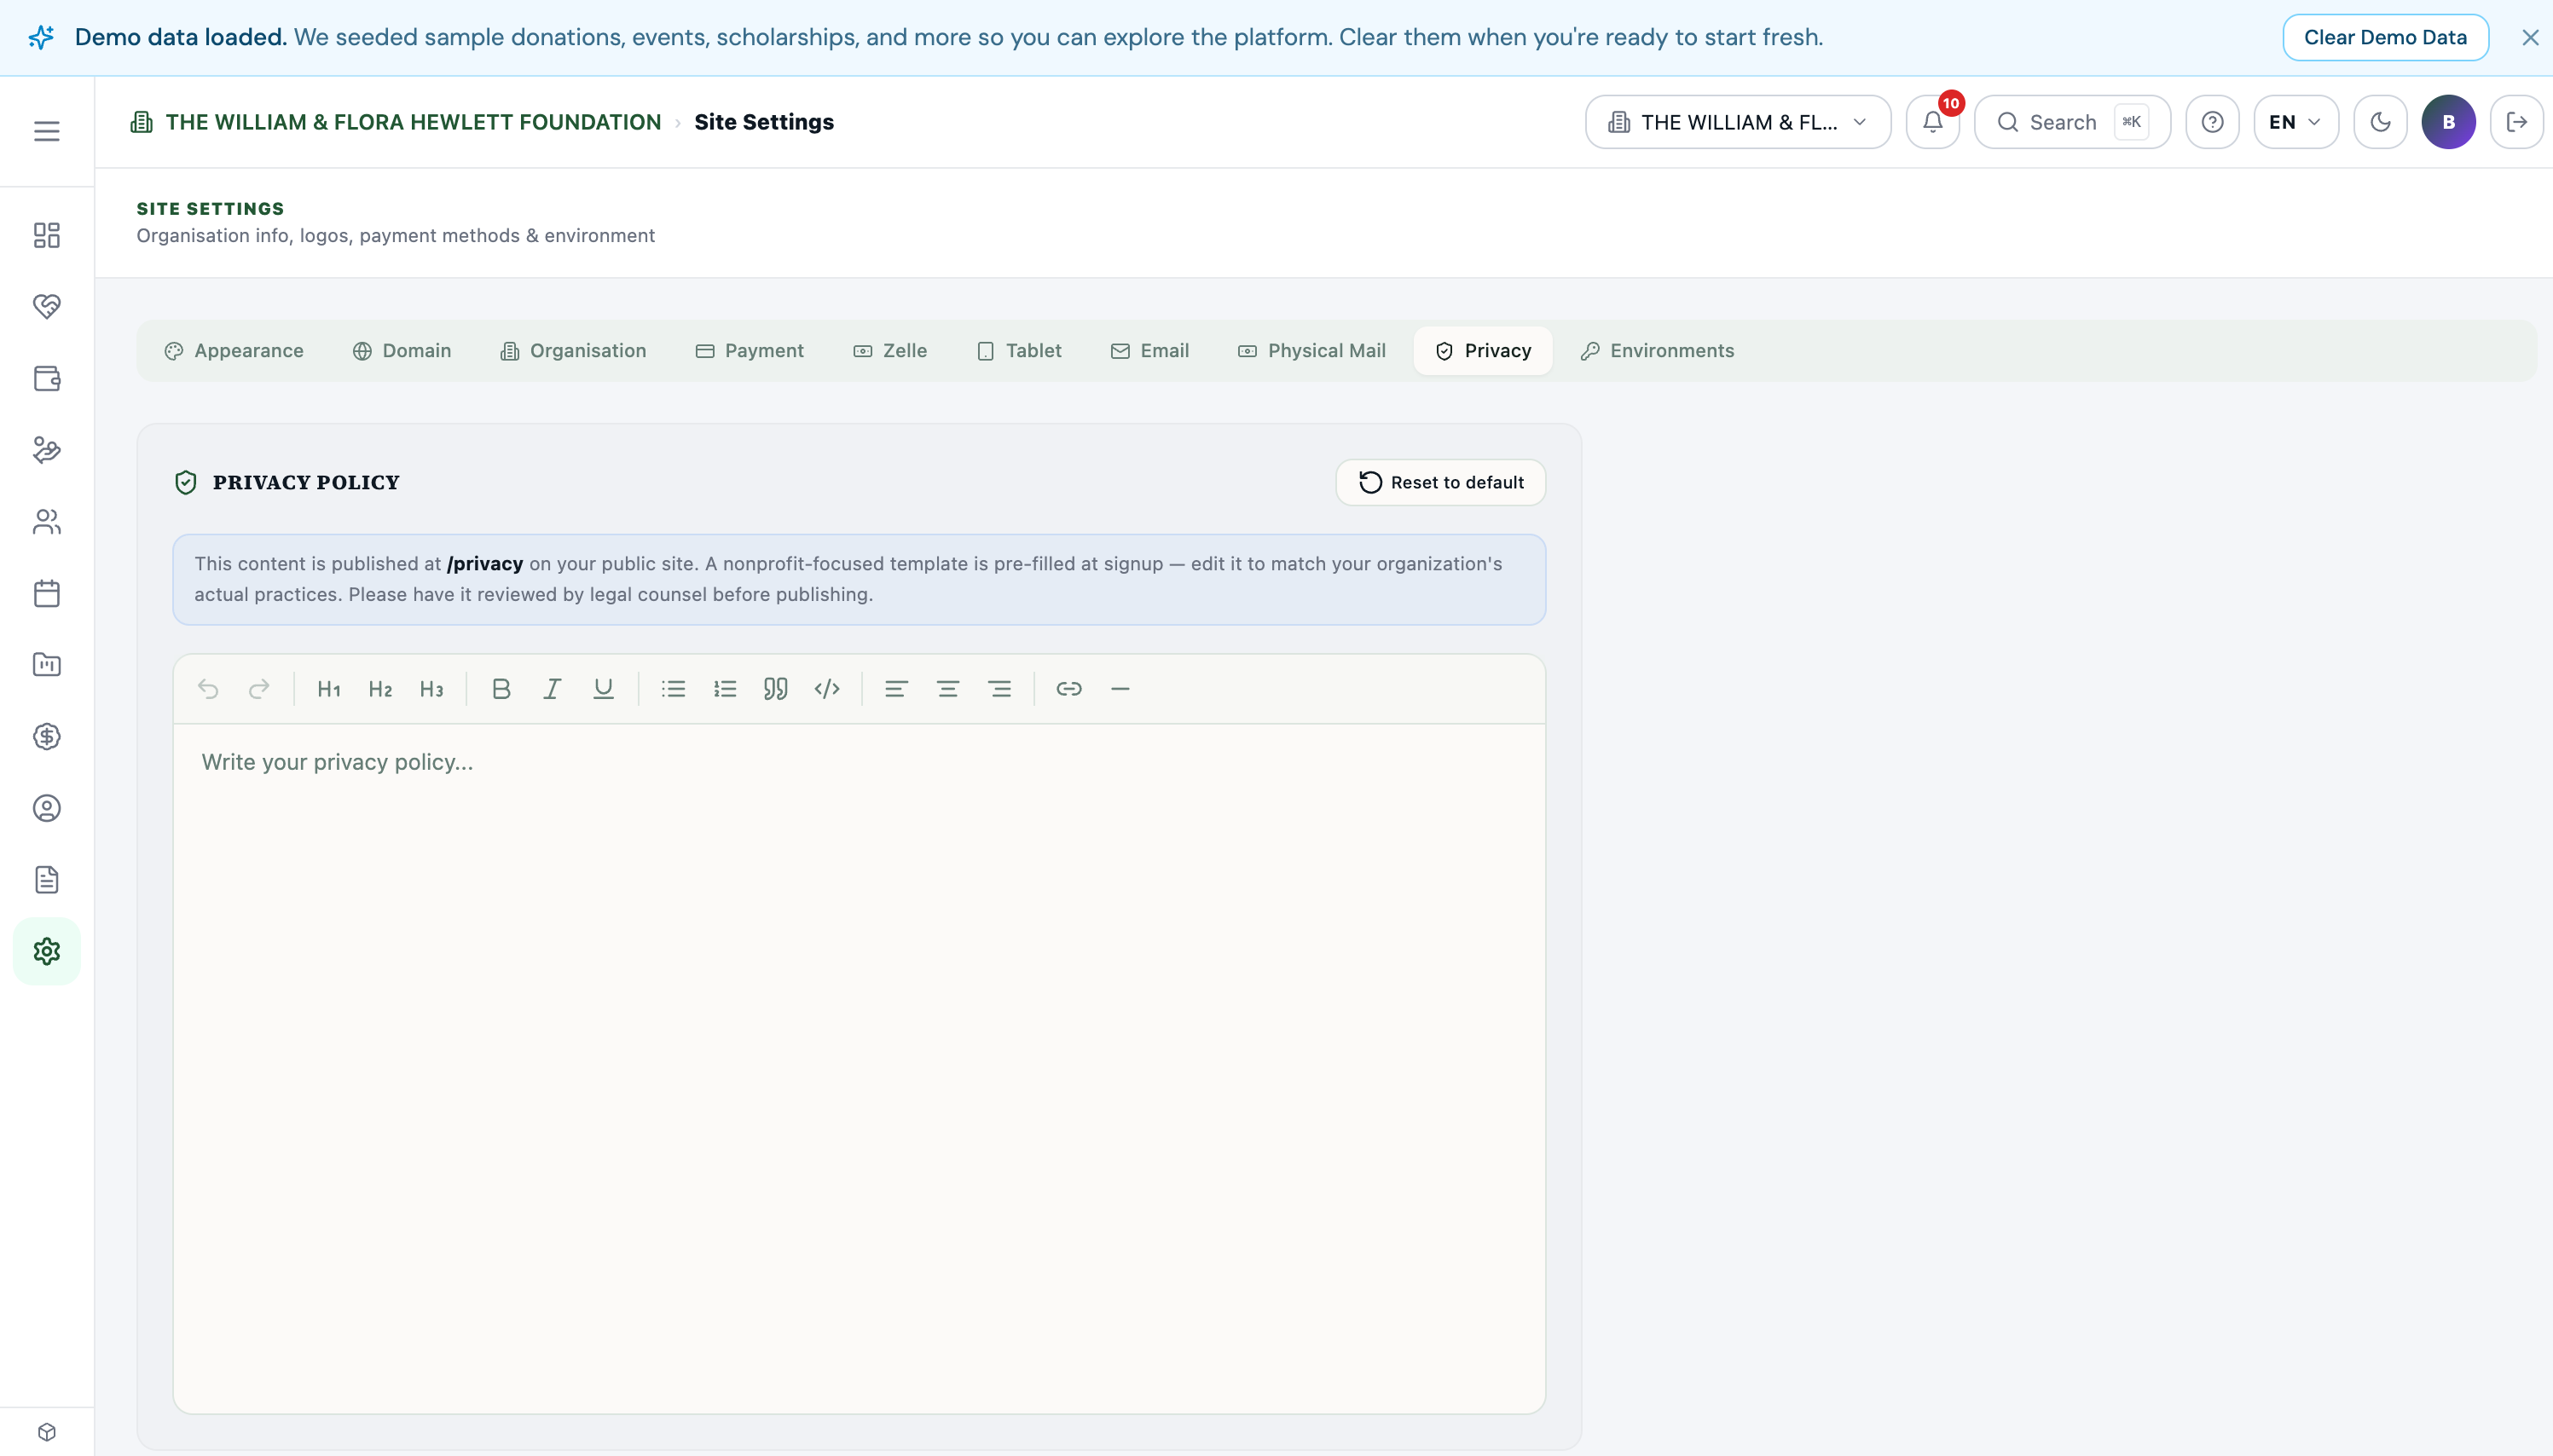
A rich-text editor for the privacy policy published at /privacy. A nonprofit-focused template pre-fills at signup; edit it to match your organisation's actual practices and have it reviewed by counsel before publishing. The Reset to default button restores the template.
What's not here
- Languages, Content Types, Developer, GDPR, Compliance, Reports, and QuickBooks are still separate Settings entries in the sidebar. They have their own dedicated pages because they're either heavy editors (Content Types schema builder) or compliance tools that deserve top-level visibility (GDPR, Compliance).
- Users & Permissions, Billing, Usage, Departments live under the Account group, not Settings.