
Events Hub
The Events panel manages everything from a single 100-person workshop to a 500-person fundraising gala. Same UI either way — complexity scales with what you turn on.
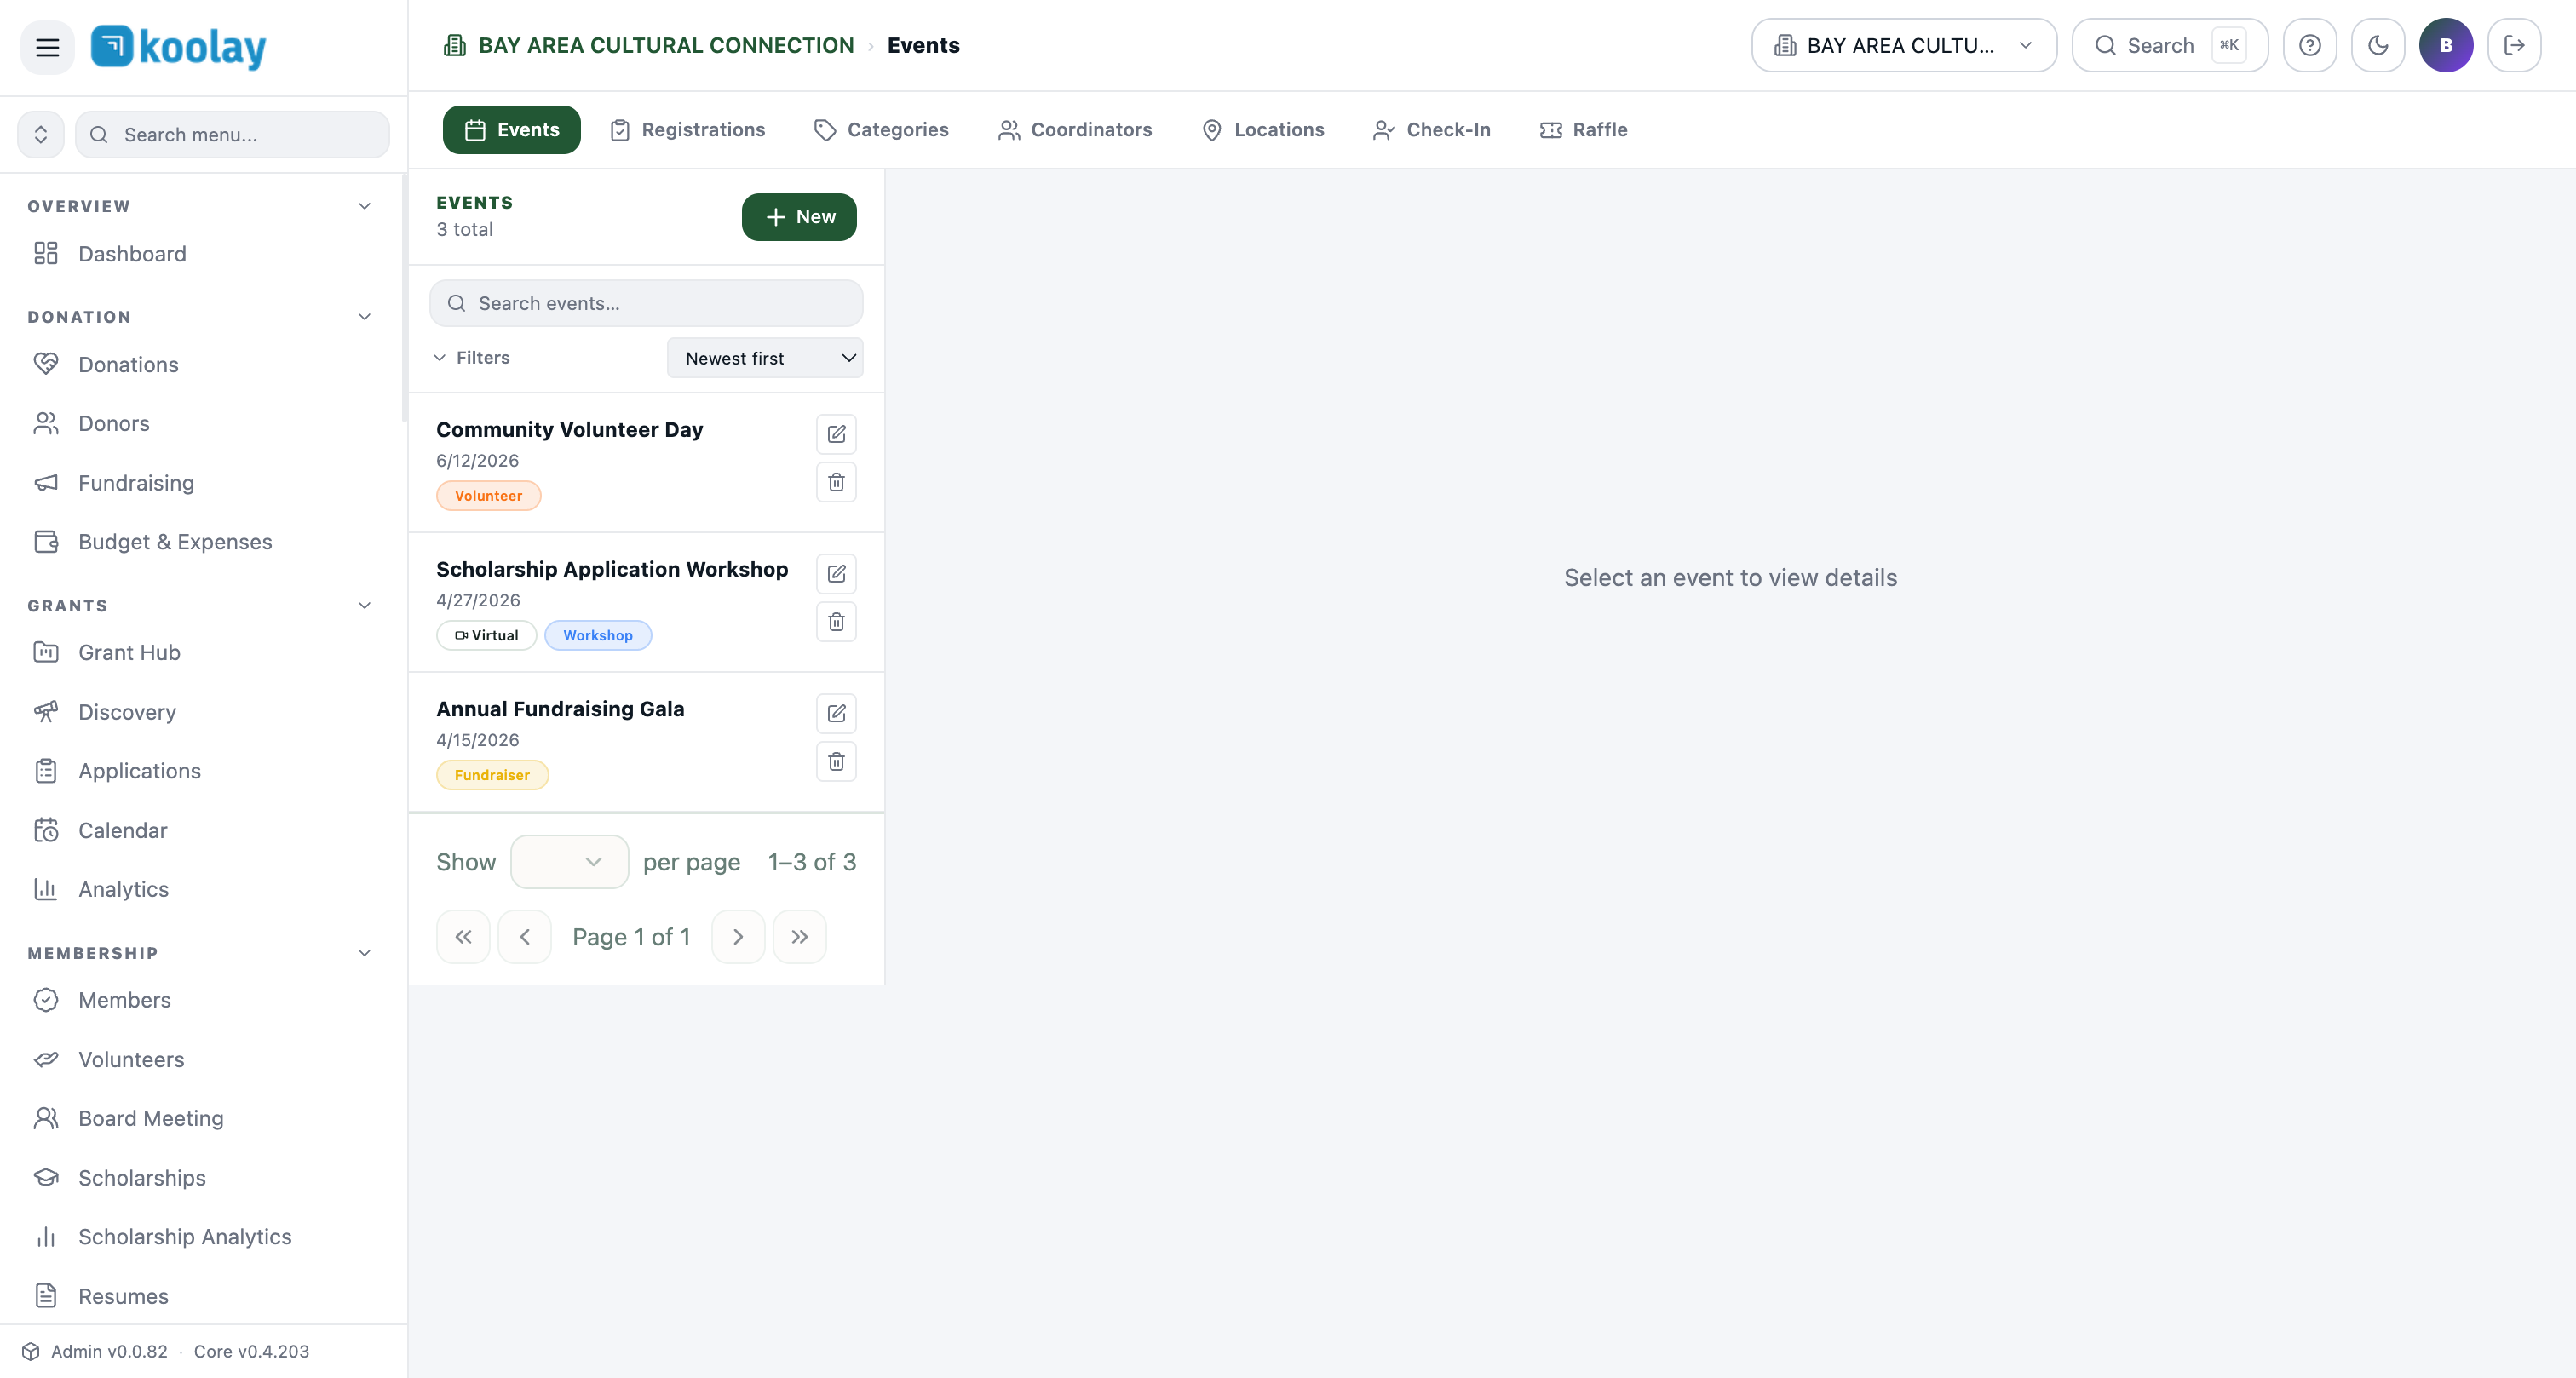
Seven sub-tabs
- Events — event list (default view).
- Registrations — every RSVP and ticket purchase across all events.
- Categories — taxonomy (Workshop, Fundraiser, Volunteer, Class, Meeting…).
- Coordinators — staff/volunteers who run individual events.
- Locations — physical venues you host at frequently.
- Check-In — live attendance at active events (also accessible from the mobile panel).
- Raffle — paid raffle drawing module.
Creating an event
New opens a multi-step form:
- Basics — title, date, time, category.
- Location — physical address or "Virtual" (we host the Zoom/Meet link).
- Capacity — total seats; waitlist on/off.
- Pricing — free, donation-only, or paid ticket. Multiple ticket tiers supported.
- Coordinator — who's running it.
- Description — public-facing copy with rich text.
- Public visibility — when the event becomes visible on your website.
Public event page
Every event automatically gets a public page at /events/{slug}. Includes:
- Hero image
- Date, time, location, capacity
- Description
- RSVP / ticket button
- Add to calendar (Google, Apple, Outlook)
- Share buttons (Facebook, Twitter, email)
- Map (if physical location)
Free vs. paid events
- Free — RSVP captures name and email; no payment.
- Donation-only — "suggested $25" wording; donor can pay any amount or skip.
- Paid (single tier) — fixed ticket price.
- Paid (multi-tier) — multiple options ("General $50 / VIP $150 / Sponsor $500"). Each tier has its own seat allocation.
Capacity and waitlist
When capacity is reached, registrations move to a waitlist. Coordinator can promote from waitlist manually, or set "auto-promote on cancellation" so a freed seat is offered to the next waitlisted person automatically.
Check-in flow
Two options at the door:
- Web check-in — staff opens Check-In tab, types or scans the registrant's name; clicks check-in.
- Mobile QR check-in — using the Koolay Mobile Panel Android app. Scan the QR from the registrant's confirmation email — they're checked in instantly. Best for high-volume events.
Post-event
After the event:
- Attendance report auto-generated — registered vs. checked-in.
- Send thank-you email with optional photo gallery and donation prompt.
- Move event to the "Past" view; visible publicly under "Past events" on your site.
Common patterns
- Coordinators get their own slim view — assign coordinator role; they only see events they're running.
- Use categories aggressively — donors filter the public events page by category.
- Add Calendar buttons matter — events with calendar links get 25%+ more attendance.